LED strips
Background & Concept
Light sources have something magical to them. Think about tiny fireflies, a cosy campfire, a sunset, the stars in a night sky, luminous watch hands, etc. All of them have some sort of magic around them. I like almost anything that emits light, so naturally, I also like LEDs.
Having purchased and mounted some in my dorm room, I had obtained some understanding about LED strips, so I knew I wanted a digital (individually addressable) RGBW LED strip.
- Digital means every LED diode is on a chip, meaning every individual LED can be controlled separately. This is in contrast to analog LED strips, where you have to set one color for the entire strip. That means: digital strips can produce cooler effects. It also means you can directly control them with a microcontroller signal, there is no need for an intermediate driver. The downside is that they usually work on 5V, which means you need a power supply that can supply a lot
- RGBW means every “LED dot” has a red, green, blue and white diode. I wanted this because the RGB strips I have produce a very cold white light. The white diode produces a cosier, warmer white.
Microcontroller
The brains of the operation is an ESP32, a microcontroller that comes with WiFi on board, and can also be programmed using the Arduino IDE. And as always, I relied on fantastic open source work of others: a library called FastLED to control the LEDs, a WiFi library that does exactly what you can deduct from its name, and an MQTT library called PubSubClient, which connects to an MQTT server that relays the messages sent from a user interface.
Printed Circuit Board
This is my first PCB design in a hobby project, so this was kind of an adventure. One of my electrical engineering buddies recommended Autodesk’s Eagle to design it, so that’s what I used.
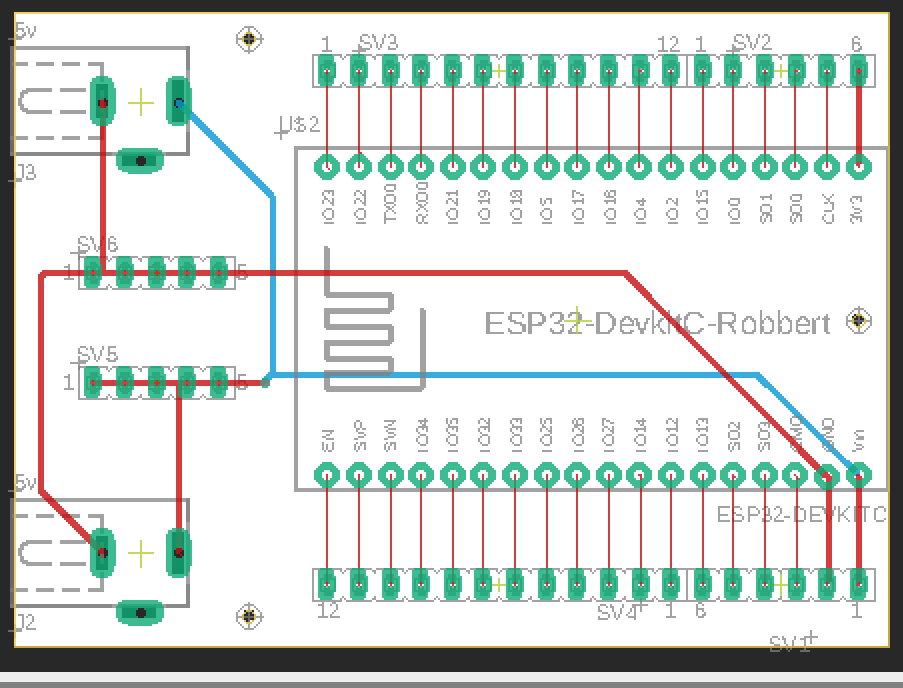
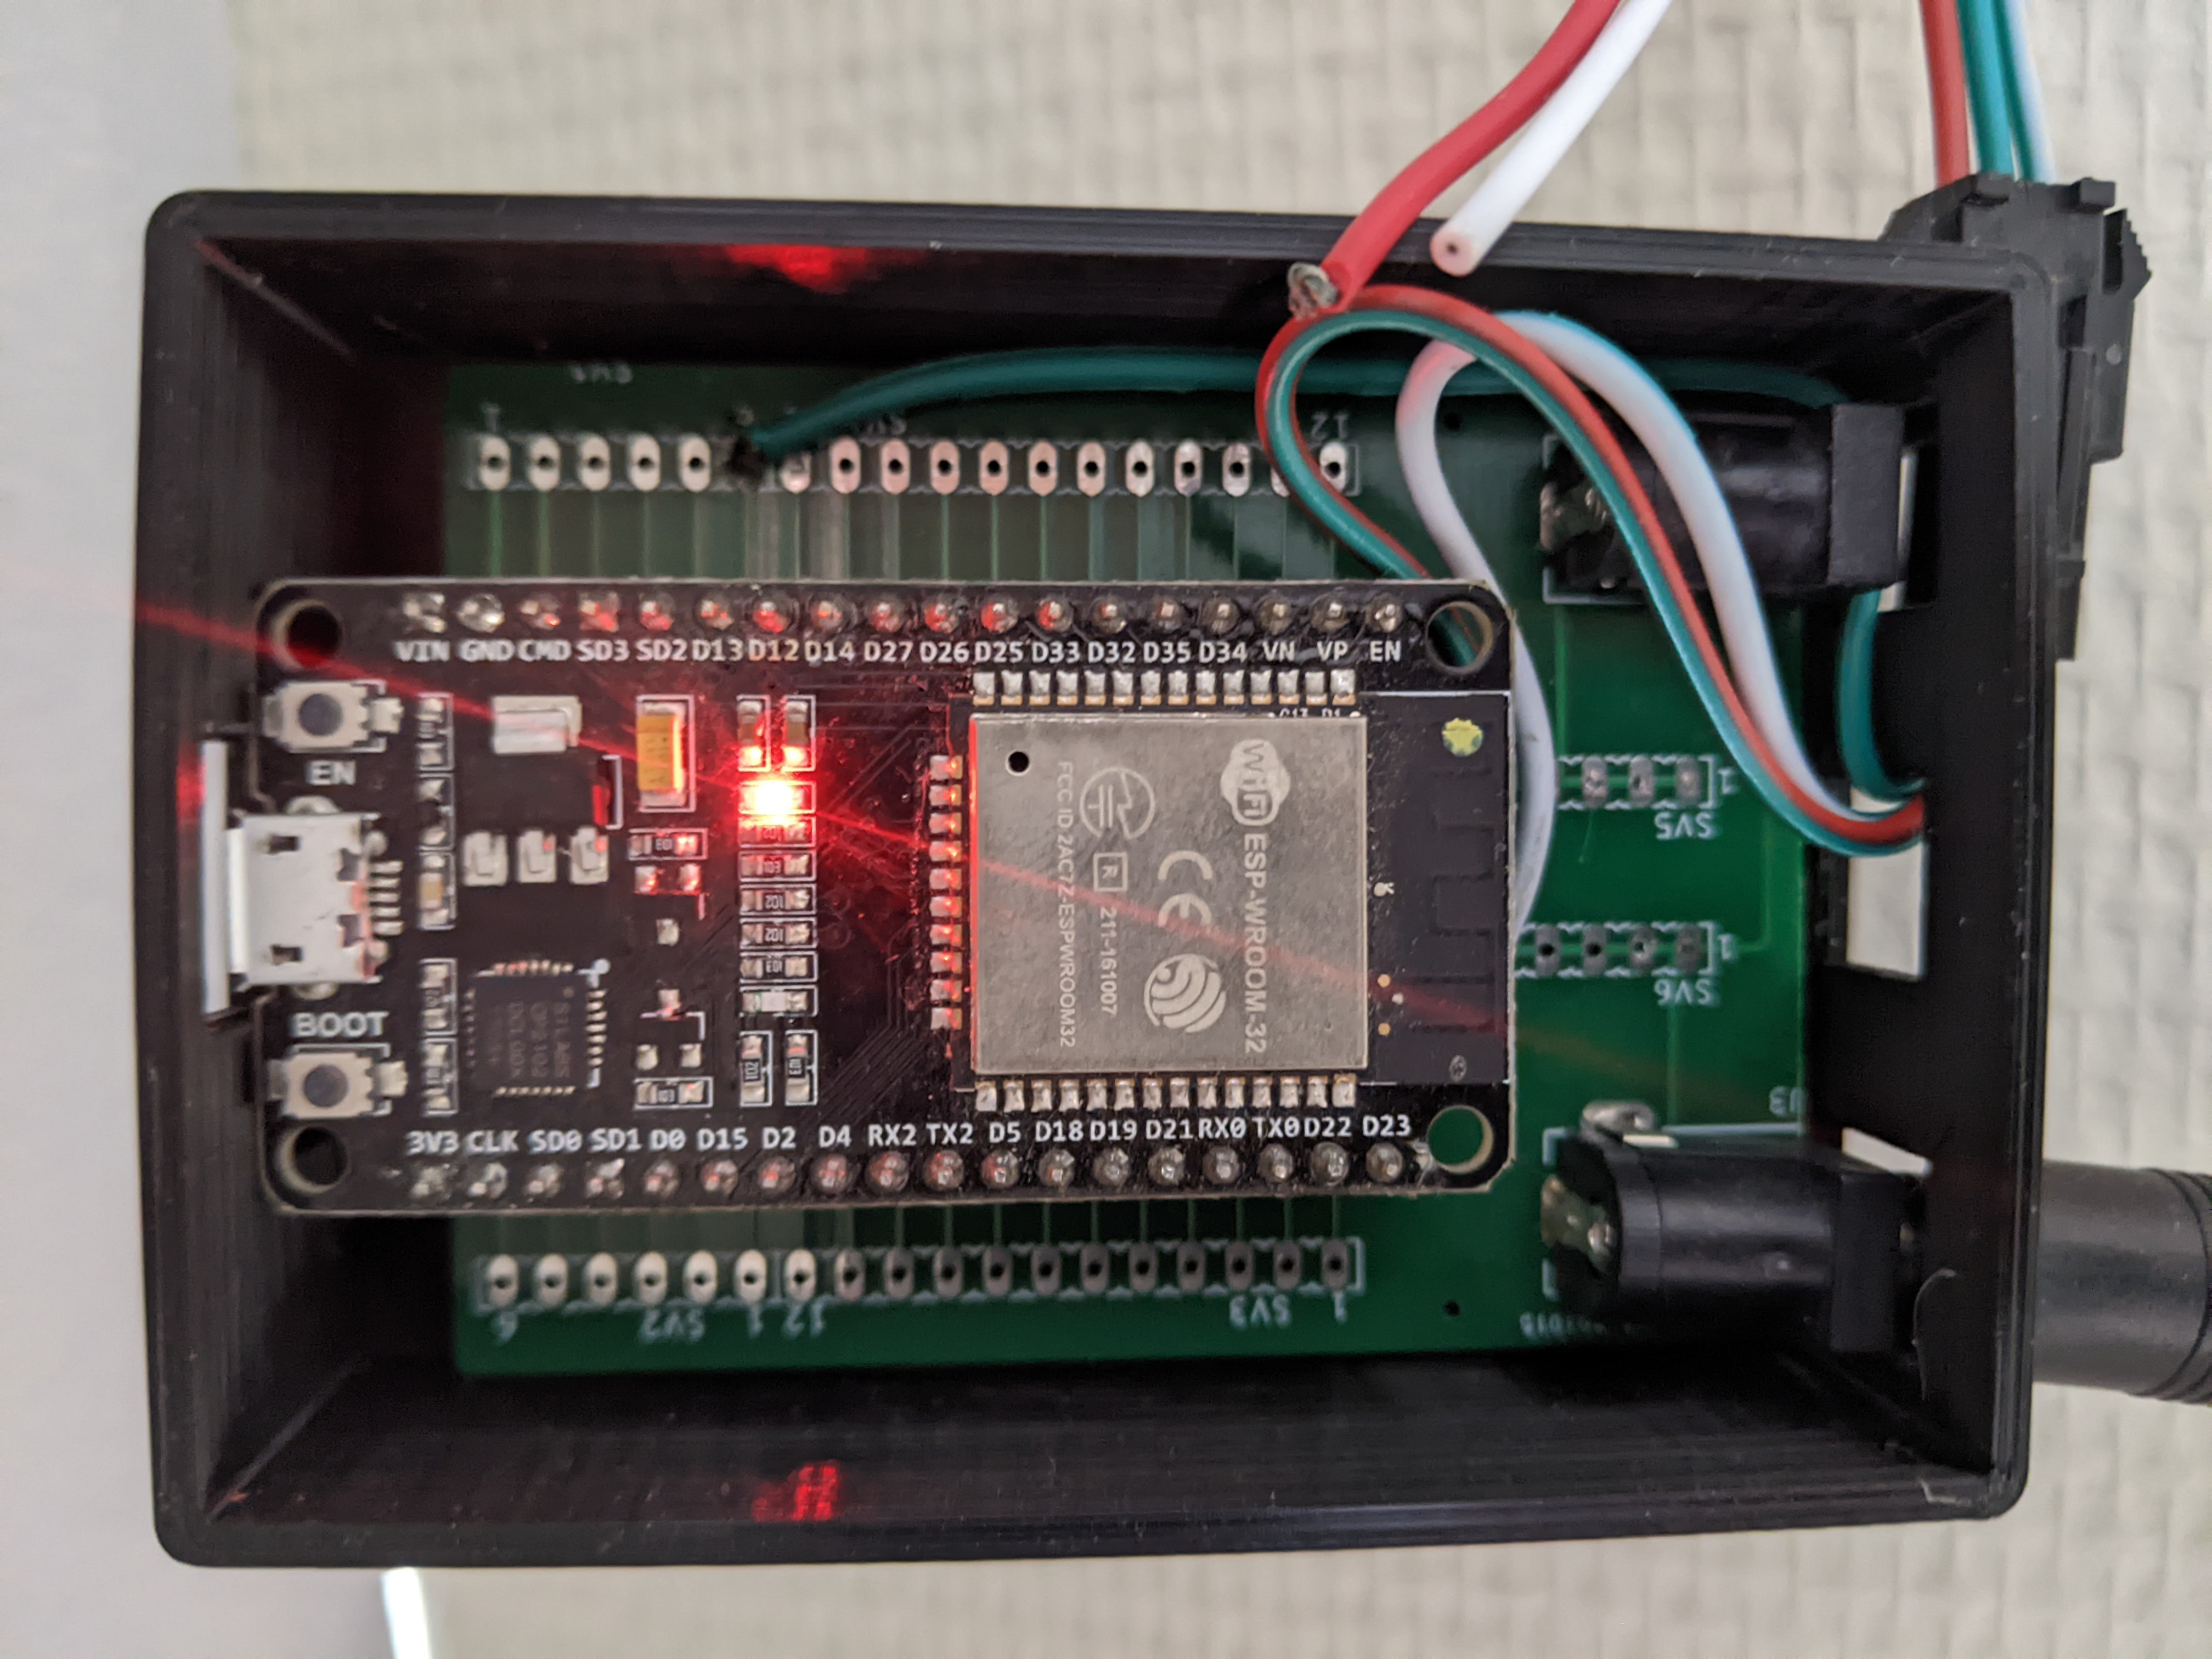
I looked for an ESP32 design only to find out later that the pinout and footprint were different from the ESP32 I have lying around. So a few hours and some youtube videos later, I had my own ESP32 eagle component, with corresponding pinout and footprint. After playing around with and finding admiration for the routing software, the design was done. Upload to JLCPCB, find out you can only order 5 PCBs at once, order them anyway because they’re cheaper than all others anyways, wait a few days and, boom, there they are. Then it was just a matter of soldering the right connectors on, plugging the ESP32 in and voila, an LED strip that could be controlled wirelessly.
3D printed case
Just for fun, and to hide the red ESP32 light (if the cover’s on).
Conclusion
Digital LED strips are cool because you can directly control them using a microcontroller, without a separate driver.